Already tried growing ginger in Zone 6, you’re ready for the next level: Turmeric
Growing Turmeric in Zone 6: A Tropical Secret for Your Garden
If you’ve already tried growing ginger in Zone 6, you’re ready for the next level: Turmeric.
Turmeric (Curcuma longa) is ginger’s slightly more dramatic cousin. It has broader, lush green leaves that look like something out of a jungle and a bright orange root that is one of the most powerful anti-inflammatory foods you can grow.
Like ginger, turmeric is a tropical perennial. In our cooler Zone 6 climate, we treat it as a long-season container plant that needs a serious head start indoors. If you’re willing to give it some warmth and patience, you can harvest “baby turmeric”—a vibrant, thin-skinned version of the root that makes the store-bought stuff look dull in comparison.
What You’ll Need
Because turmeric is a tropical plant, we’re going to give it a little “spa day” to help it wake up.
- Organic Turmeric Rhizomes: Look for plump, firm roots with small “eyes” (buds) on them. Shriveled ones are much harder to sprout.
- A Heat Mat: Turmeric is even more “heat-loving” than ginger. It needs consistent soil temps of 75-85°F to wake up from its winter slumber.
- Wide, Shallow Pots: Turmeric roots grow horizontally, so a wide pot (like a whiskey barrel half or a large trough) is better than a deep one.
- Rich Potting Soil: Mix plenty of compost into your potting mix. Turmeric is a heavy feeder!
- A Humidity Dome (or Plastic Wrap): To keep the soil moist during the long sprouting phase.
How To Do It
- Start Early (Feb/March): Don’t wait! Turmeric can take 4-6 weeks just to show its first green shoot.
- Prep and Sprout: Place your turmeric rhizomes in a shallow tray of moist potting soil. Barely cover them. Place the tray on a heat mat and cover it with a humidity dome or plastic wrap.
- The Waiting Game: Keep the soil moist but not soggy. Don’t worry if nothing happens for a month—turmeric is famously slow to wake up!
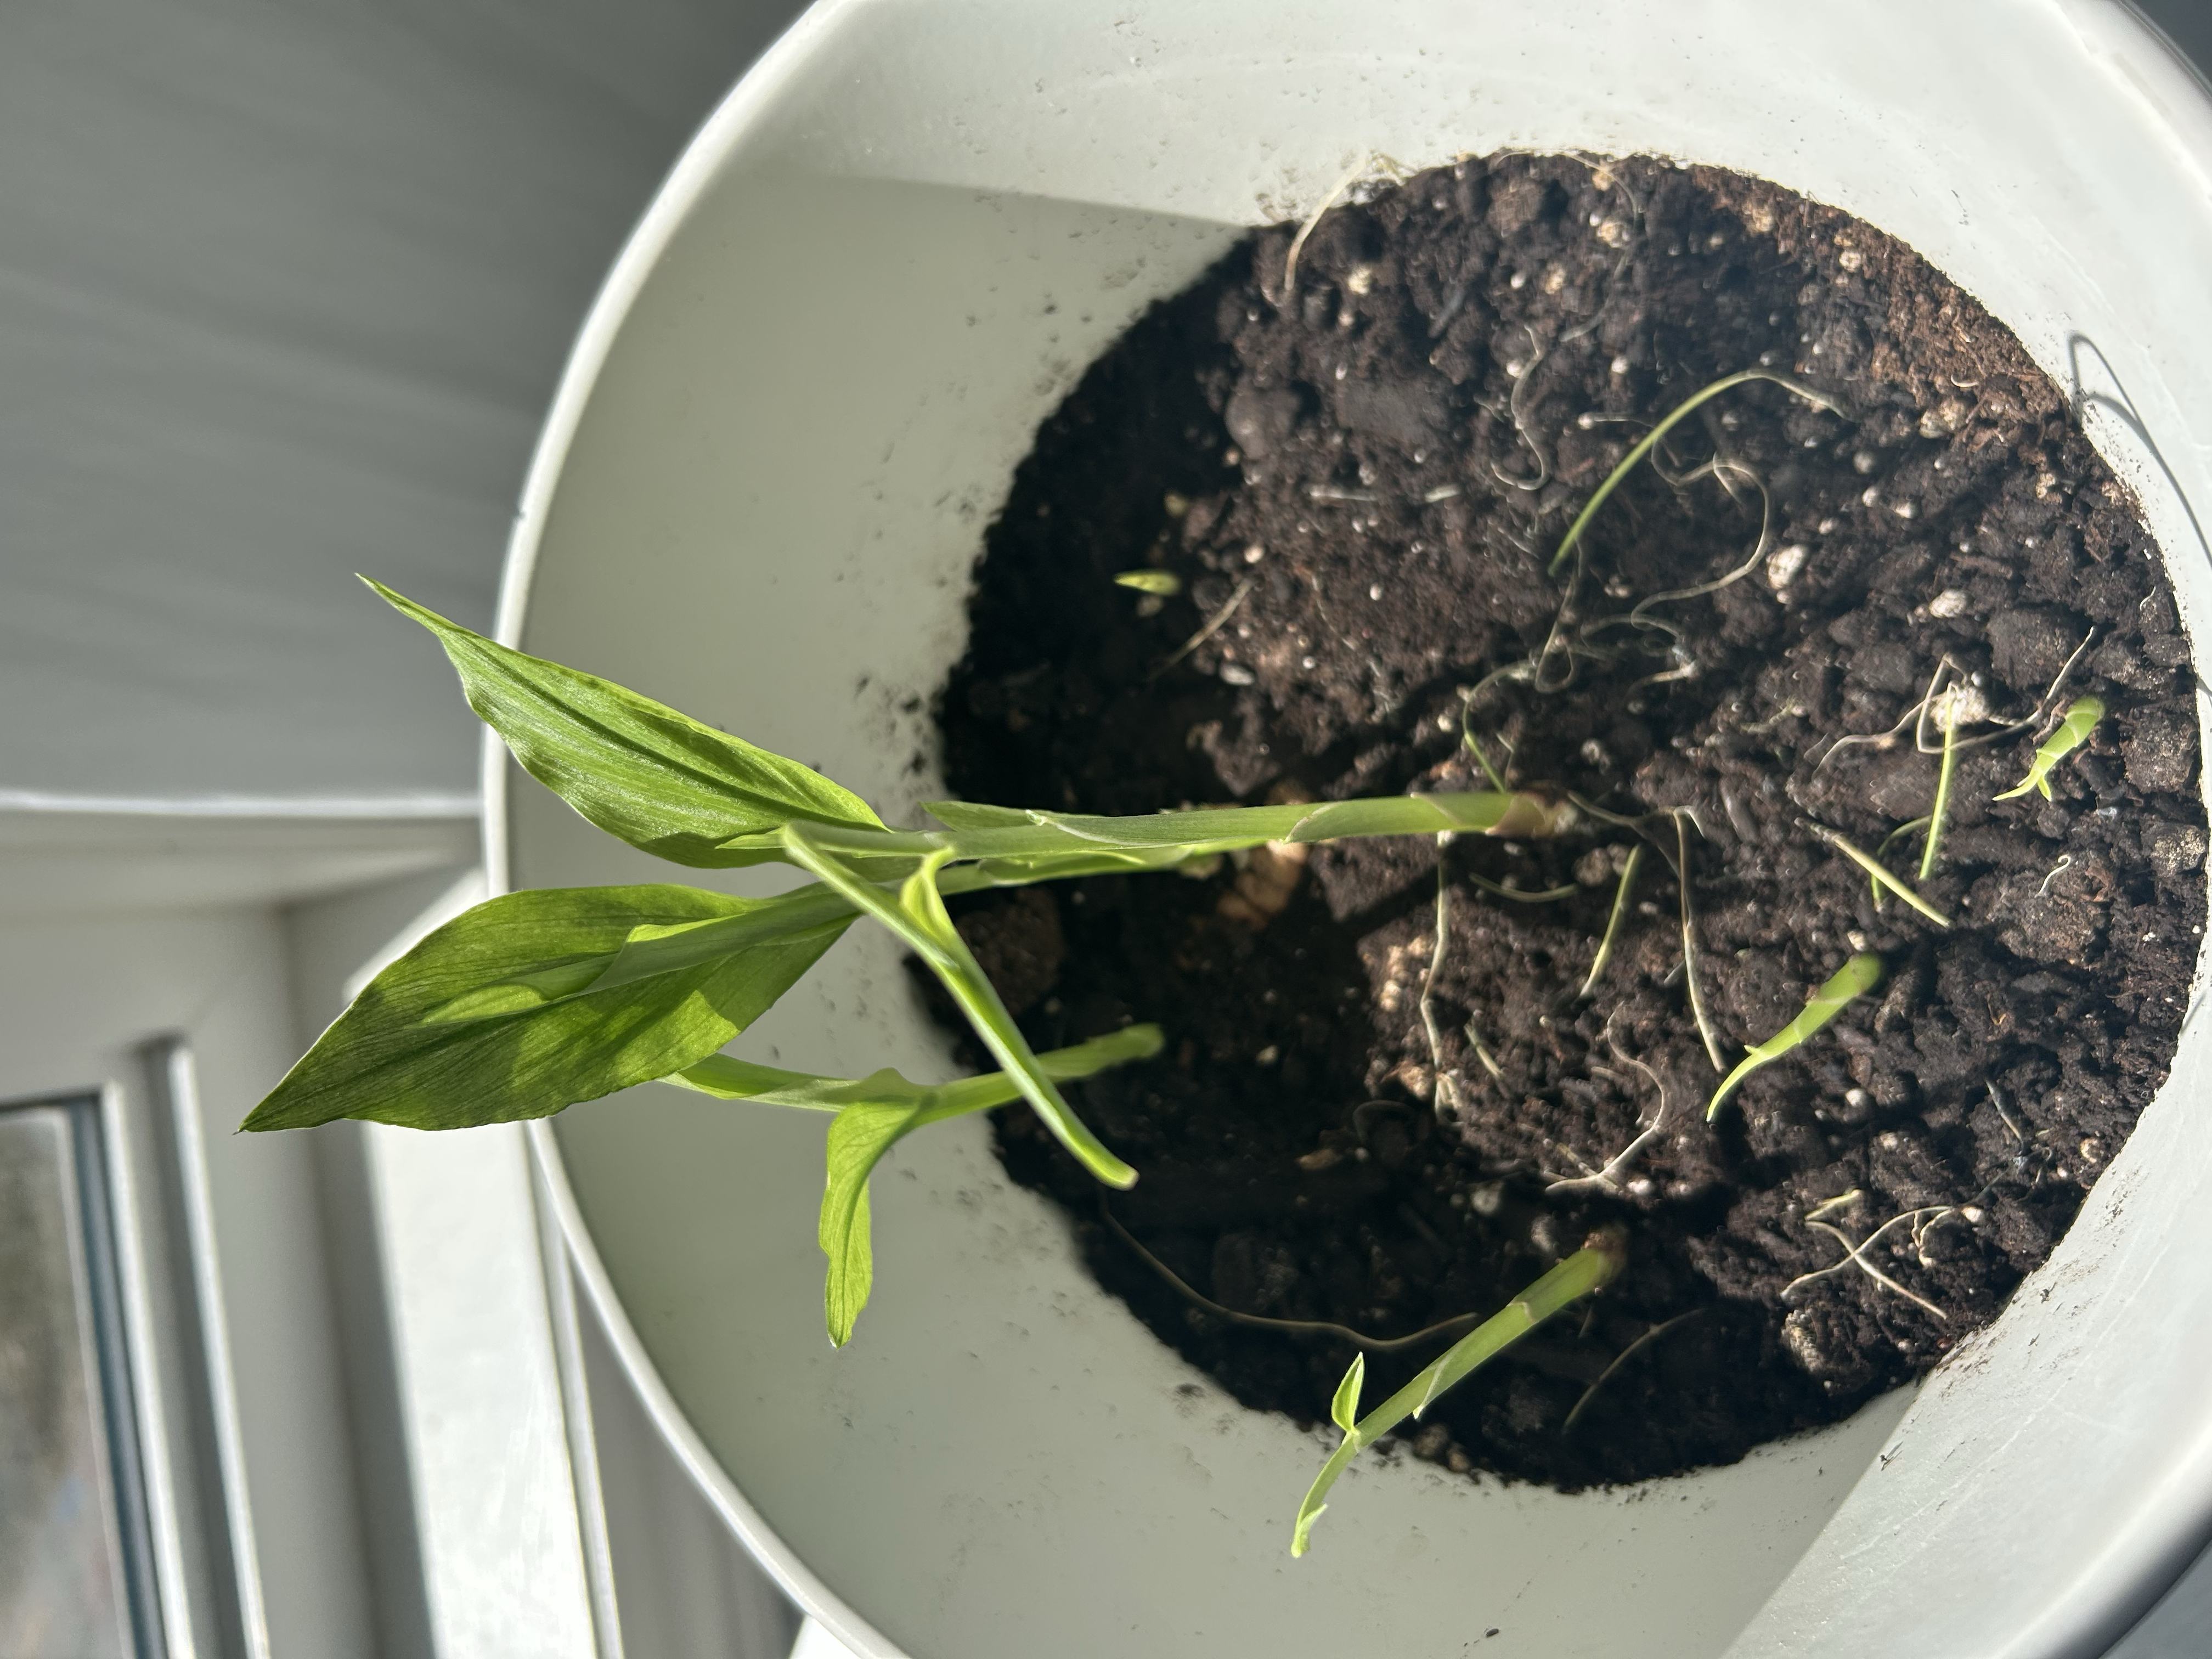
- Bright Light: Once you see those first green shoots, move the tray to a bright, south-facing window.
- Move Outdoors (June): Wait until nighttime temperatures are consistently above 60°F. Turmeric is more sensitive to cold than ginger, so don’t rush it!
- Afternoon Shade: Turmeric loves the heat but can get leaf scorch in the intense afternoon sun. Find a spot with dappled shade or morning sun and afternoon protection.
- Water and Feed: Keep the soil consistently moist and feed it with a balanced organic liquid fertilizer every 2 weeks during the summer.
Pro Tip: The “Baby Turmeric” Harvest
In late fall, as temperatures drop, you’ll see the lush leaves start to turn yellow and die back. This is your signal that the rhizomes are ready! Since it’s “baby turmeric,” the skin is very thin—you don’t even need to peel it! Just grate it directly into your golden milk, curries, or smoothies.

Conclusion
Growing turmeric in Zone 6 is a fun, rewarding challenge. Even if you don’t get a massive harvest, the plants themselves are beautiful and tropical, making them a great addition to your patio or deck. Give it a try this year—your winter smoothies will be much more vibrant for it!
Don’t worry if it’s slow to sprout—that’s just turmeric being turmeric. Keep it warm, keep it moist, and enjoy the jungle vibes. Happy gardening!
Placeholder: [Image of a large potted turmeric plant with its broad, hosta-like leaves and a handful of freshly harvested, bright orange baby turmeric rhizomes]